International
  Deutschland
  Danmark
  Česká republika
  España
  France
  Italia
  Nederland
  Norge
Norge  Österreich
  Polska
  Suisse romande
  Svizzera italiana
  deutsche Schweiz
  Suomi
Suomi  Sverige
  Ireland
  Ελλάδα
  Magyarország


Changing tyres the right way
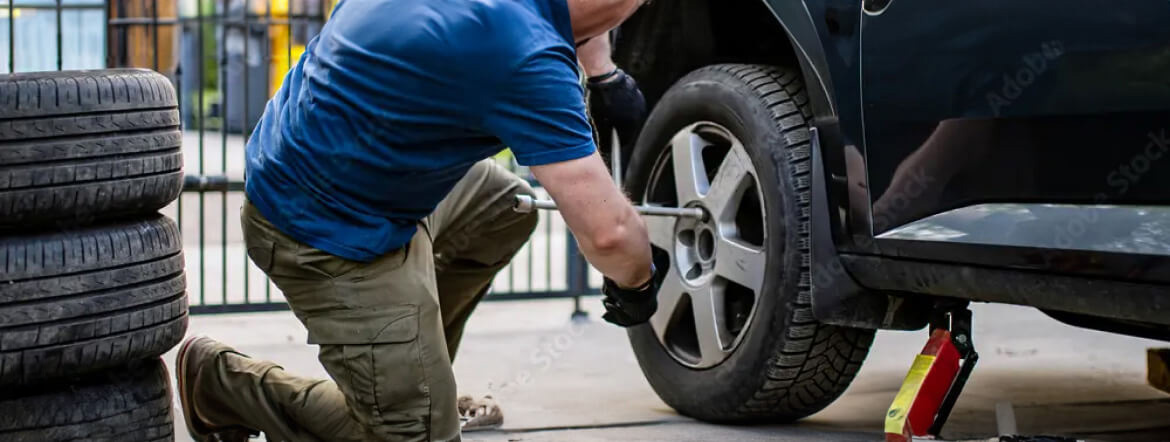
Changing tyres
Changing wheels or tyres
A wheel change, colloquially also known as a tyre change, is usually carried out twice a year on vehicles when summer and winter tyres are swapped. However, a tyre change is also necessary if a tyre is defective or worn. Should the garage carry out a wheel change, or can you change the wheels yourself? We provide you with important information on the subject and instructions for a safe wheel change!
When should tyres be changed?
For the standard tyre change or wheel change, there is the traditional seasonal rule: from October to Easter, winter tyres are used; after that, summer tyres are fitted. Regarding winter tyres, there are legal provisions in the German Road Traffic Regulations (StVO) § 2 section 3a and § 36 section 4. The essence of these is that, in wintry road conditions, vehicles must be fitted with tyres suitable for such conditions. A minimum tread depth of 1.6 mm is also stipulated; once this depth is reached, the tyres must be replaced. However, it is generally recommended to have a minimum tread depth of 4 mm for winter tyres and 3 mm for summer tyres. Once the tread falls below these values, a tyre change should be carried out. In addition, a car tyre must, of course, be replaced if it is damaged. Unlike a wheel change (replacing the entire wheel including the rim), a tyre change involves fitting new tyres to the existing rims.
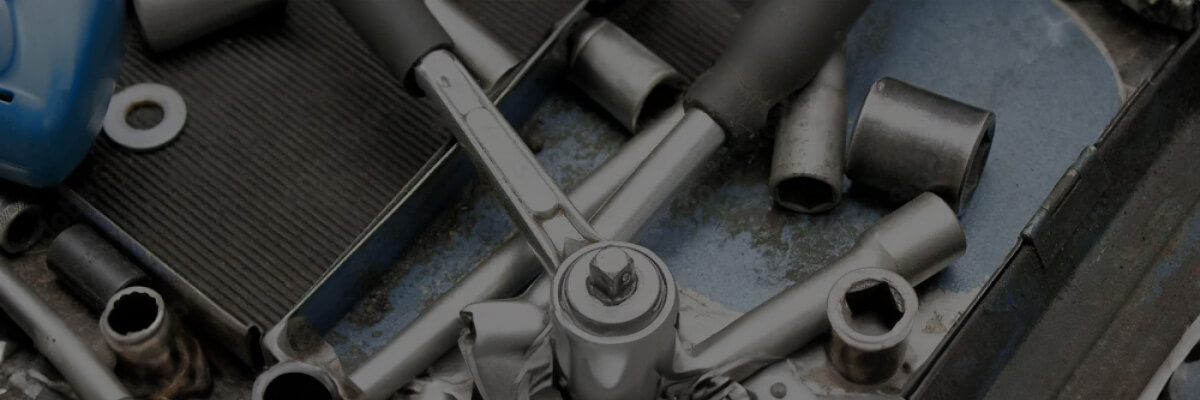
What tools are needed for changing wheels or tyres?
Our tips for good tools for changing tyres:
- Jack: This tool is essential for removing one wheel and fitting the new one. Every car comes with a mechanical jack. However, working with a hydraulic jack or even a trolley jack, is considerably more comfortable.
- Jack stand: This is a useful support that secures the car against accidental lowering.
- Wheel nut wrench : The wheel nut wrench is used for loosening and tightening the wheel nuts.
- Torque wrench: The use of a torque wrench or an impact wrench with adjustable torque is, of course, the safer way to loosen or tighten the wheel nuts.
- Socket wrenches: If a wheel lock is present, the appropriate socket wrench should be kept ready.
- Rim lock removal tool This allows any rim lock to be removed easily and quickly without damaging the rim.
-
Code no.: 431045
- Material: steel/aluminium
- Load cap.: 2,5 t
- Weight: 27,5 kg
€269.00
-

-
-
Code no.: 410844
- Version: 10 pieces
- Dimensions: 300 x 210 x 60 mm
- Weight: 2,4 kg
€149.00
-

-
-
 Code no.: 410955
- Version: 15, 17, 19, 21, 22 mm
- Length: 85 mm
- Quantitiy: 5-piece
€29.00
-
-

-


Instruction for changing tyres
With this step-by-step guide and the tools mentioned above, changing the tyres or wheels will work smoothly:
-
-
Park the vehicle on a suitable surface (level, flat, and firm). Engage the handbrake or electric parking brake and engage first gear, or set the automatic transmission to "P".

-
Before the tyres are changed, the wheel nuts/bolts should be slightly loosened while the vehicle is still safely on the ground. This makes it easier to remove the wheels once the vehicle is lifted and prevents the wheels from turning.

-
Correctly position the jack and lift the vehicle. The wheel should be able to rotate freely (1-2 cm ground clearance is sufficient). Place an axle stand underneath. The car's manual indicates where the jack should be positioned under the car, the required tightening torque for the wheels, and whether a direct tyre pressure monitoring system is installed.

-
Completely unscrew the wheel nuts. Loosen the top fastening last, and check the nuts for rust or damage.

-
Once the vehicle has been safely raised and the wheel nuts are completely loosened, the wheel can be carefully removed from the hub. Make sure to hold the wheel steadily to avoid it jamming or damaging the hub.

-
Before the new wheel is mounted, dirt, rust or residues should be removed from the wheel contact surface. This ensures that the wheel rests correctly, prevents imbalances or damage, and extends the service life.

-
Fit the new wheel with the appropriate tyre for the respective season (if necessary, change sides, provided there is no mixed tyre fitment. Tyres with a fixed direction of rotation cannot be swapped crosswise). When swapping front/rear, the tyre tread wears evenly. If there are different tread depths, fit the better tread on the rear.
-
Insert the wheel nuts and tighten them by hand. Caution: Different types of rims may require different fitting nuts!
-
Slightly lower the vehicle and remove the jack.
-
Tighten the wheel nuts with the correct torque (the correct torque can be found in the owner's manual). Important: check the tightness of the wheel bolts after 50 km.
-
Mark the removed wheels accordingly (e.g. front left) so that they can be refitted in the original position or swapped.
-
Check tyre pressure and top up if necessary (information is often on the back of the fuel cap).
-
Test drive, paying attention to imbalances.
-


Store wheels correctly
After changing the car tyres, proper storage until the next tyre change is important.
The following points should be noted:
- Check tyres for damage. If in doubt, have them checked by a professional.
- Check tyre tread depth. The legal minimum tread depth is 1.6 mm, the ADAC recommends at least 4 mm for winter tyres and 3 mm for summer tyres.
- Check the tyre age using the DOT number, which is stamped on the tyre sidewall. The four-digit number indicates the week and year of manufacture, for example, 0420. As the rubber hardens with age, winter tyres should be replaced after 6 years, and summer tyres after 8 to 10 years.
- Stack complete wheels lying down, or hang individually by the rim. Store tyres without rims upright. The wheels should be rotated regularly.
- Protect from sunlight and moisture.

When should the car tyre preferably be changed at the garage?
With the right tools, changing a tyre is not difficult, yet there are always situations where you should rely on the expertise and professional tools in the workshop. Ideally, the car tyre should be changed in the workshop in the following situations:
- If the tyres are fitted with a direct tyre pressure monitoring system (TPMS), a sensor inside the tyre continuously measures the tyre pressure and transmits the data to the vehicle’s onboard electronics. If the pressure deviates from the correct level, the system issues a warning. Installation and maintenance of these sensors must be carried out by a professional garage. (In contrast, the indirect pressure measurement works differently: after inflating the tyres to the correct pressure, the onboard computer is manually informed. It then records the rotational speed of the wheels relative to the vehicle speed and stores these values. If there is a loss of pressure, the wheel circumference decreases, which changes the rotational speed. The onboard computer detects this difference and also issues a warning.)
- If the tyres are stored at the garage, it can be sensible—and often more cost-effective—to have the change carried out there as well. Before storage, the garage will also check all necessary tyre details and can perform rim cleaning as well as proper storage. Balancing is only required when the wheels are re-fitted.
- For electric vehicles, a suitably qualified garage (certified according to BGI/GUV-I 8686 Level 1) must be used for tyre changes. Changing the tyres yourself may result in loss of insurance coverage.
Tyre change made easy with products from ProLux.
Useful helpers for changing tyres
-
-
-
 Code no.: 311835
- Length hinged: 110 mm
- Length: 180 mm
- Weight: 94 g
€12.90
-
-

-
-

-